My Home Lab.
A self hosted infrastructure running 24/7 out of my home. I use my home lab to put skills I've learned to use in a pratical setting, and showcase my skills.
TrueNAS Scale — Home NAS Build
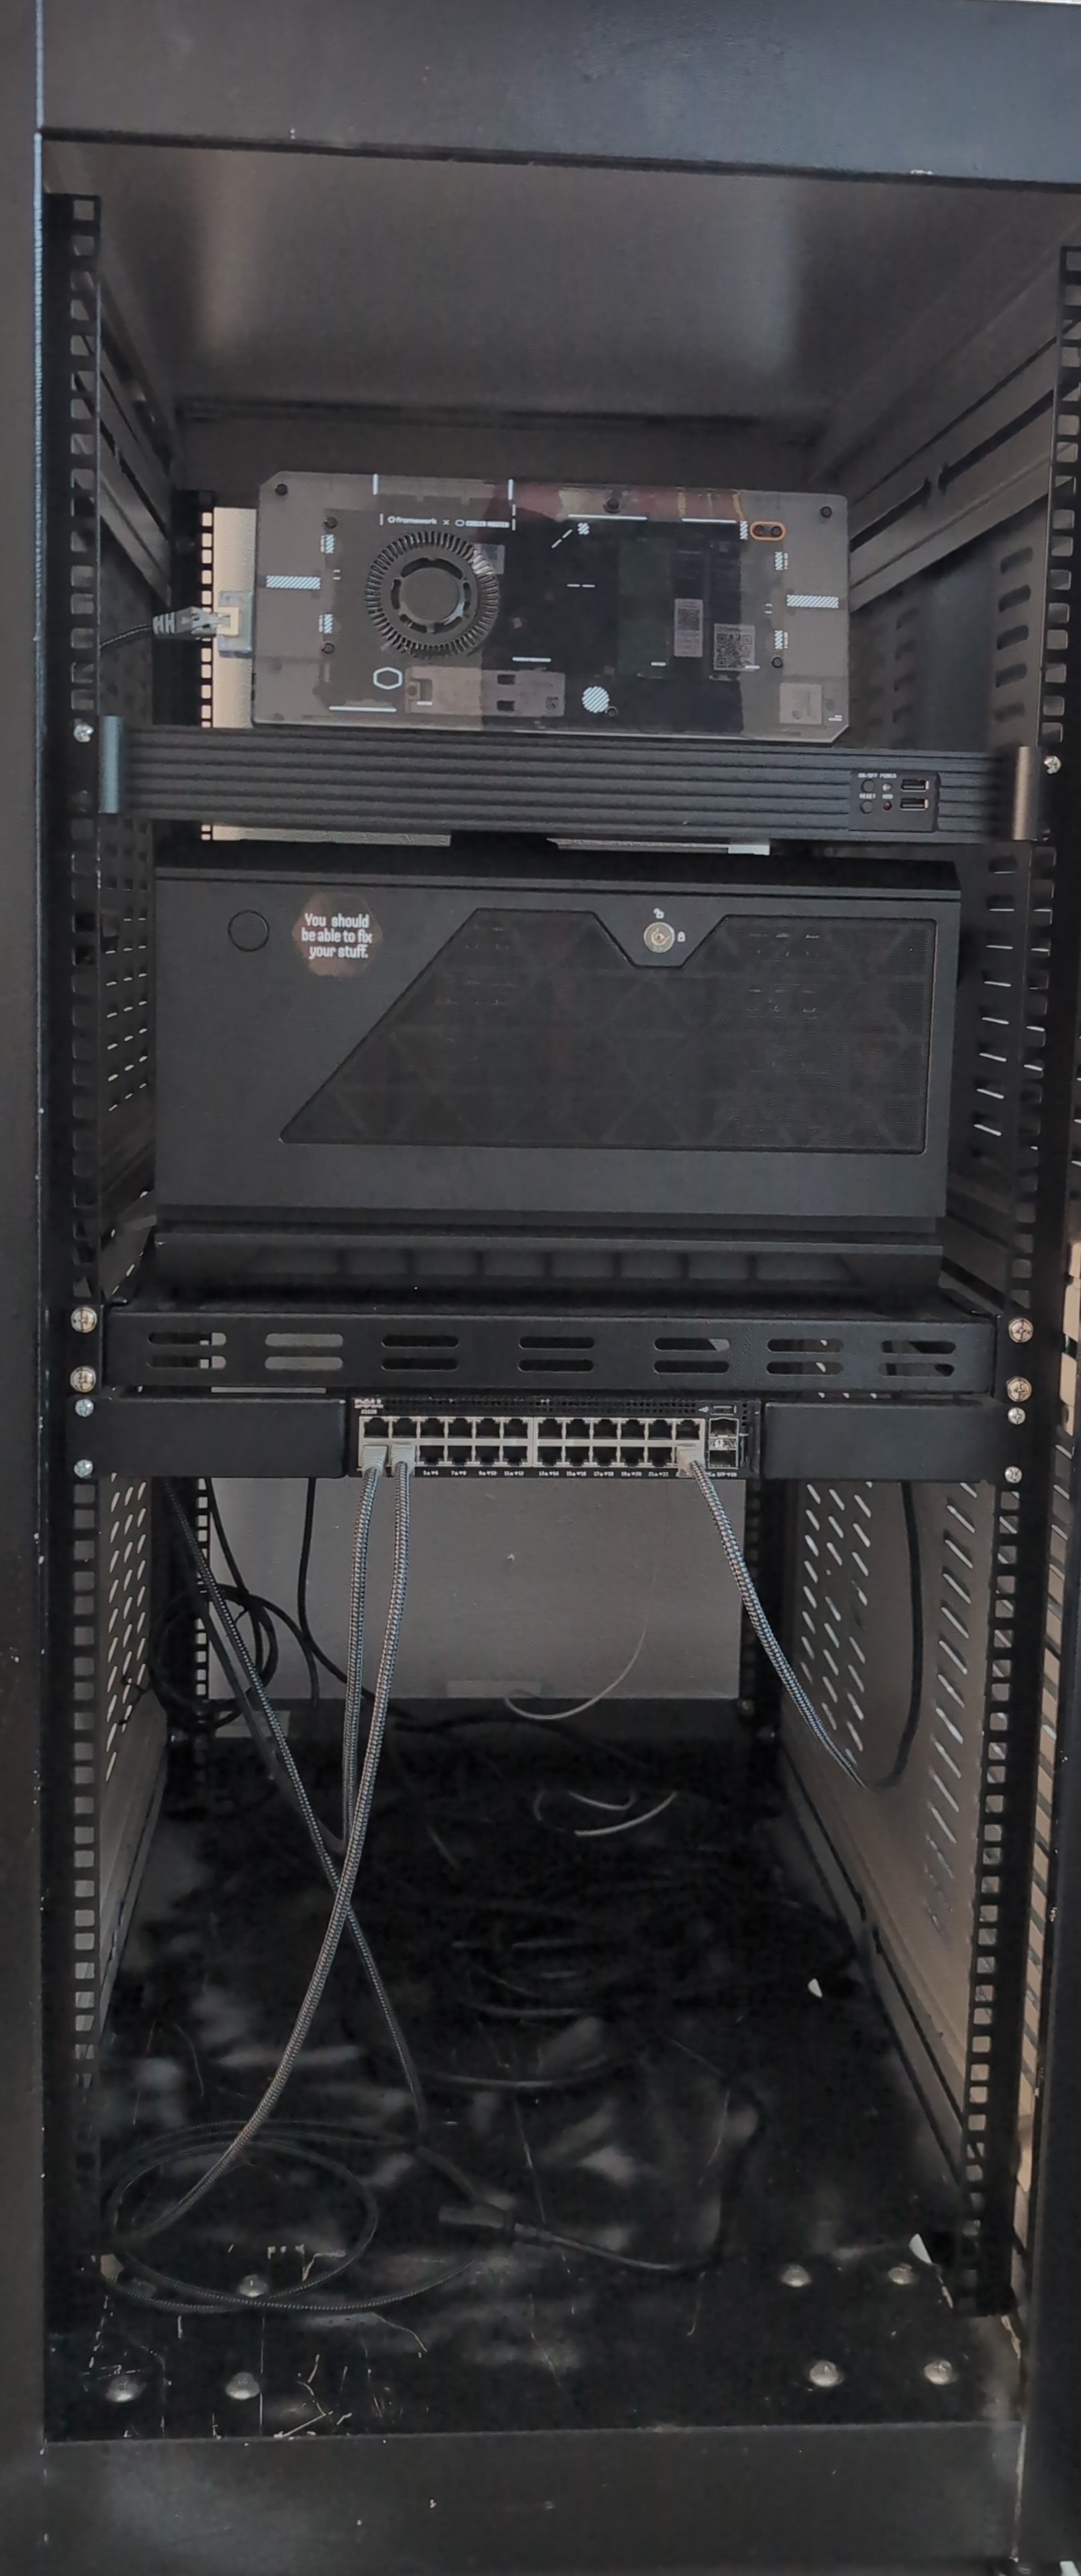
My NAS is the first server I built in my home lab. It's an eight-bay NAS with a height of about nine inches. I built the server from scratch. It's built around the chassis, for no particular reason, I just thought the SilverStone CS381 was an interesting looking case. The goal of the NAS was to store my movies and TV so I could digitize my collection of discs.
Hardware
I wanted to build something quiet enough to run 24/7 inside my apartment. I landed on using an ASRock N100M. The CPU is soldered onto the motherboard and doesn't require a fan for cooling, as it comes with a heatsink.
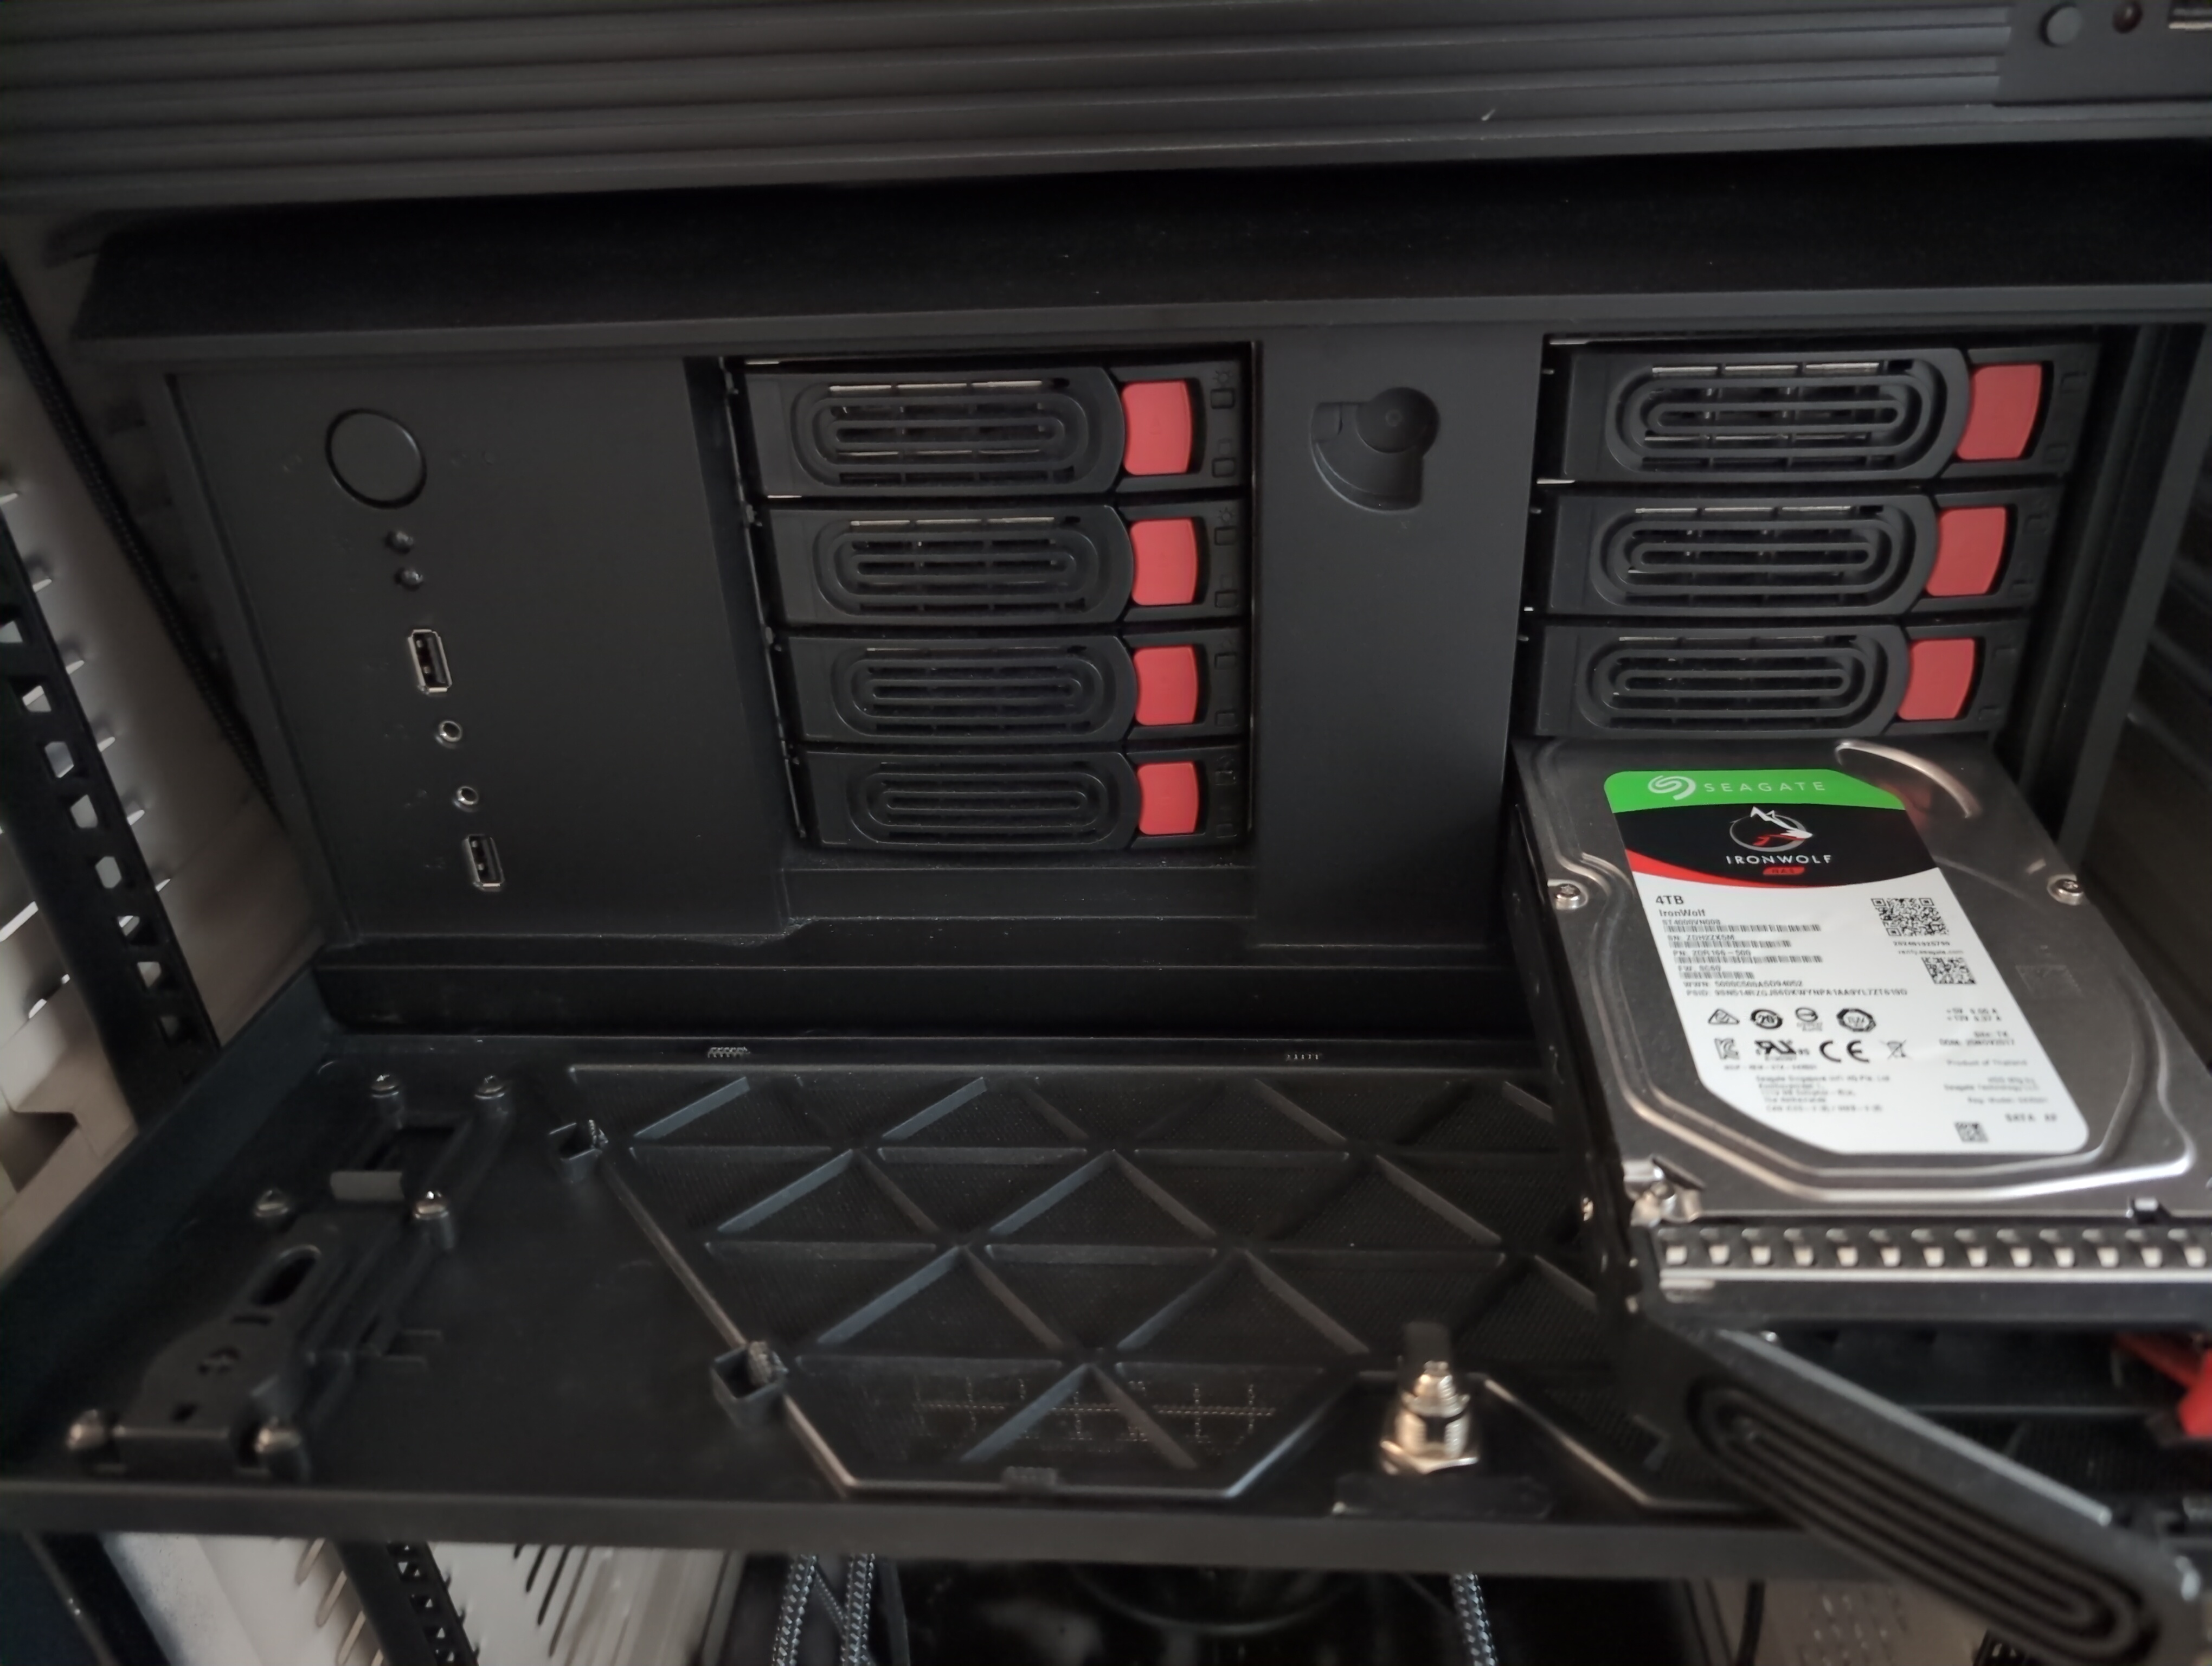
I sourced all of the drives secondhand. Currently there are 4 x 4TB hard disk drives. They are IronWolf Red drives, and they've given me no problems thus far. The boot drive I'm using is an M.2 NVMe SSD. It's just a cheap 128GB Netac drive I bought secondhand. I also needed an HBA card to connect all the drives, which I bought preconfigured.
Installing TrueNAS Scale
TrueNAS Scale is the Linux-based sibling of TrueNAS Core, built on Debian with support for containers and VMs layered on top of ZFS. The installer is straightforward. Boot from USB, point it at a small dedicated OS drive, done. I keep the OS on a separate SSD so the spinning drives are purely for storage.
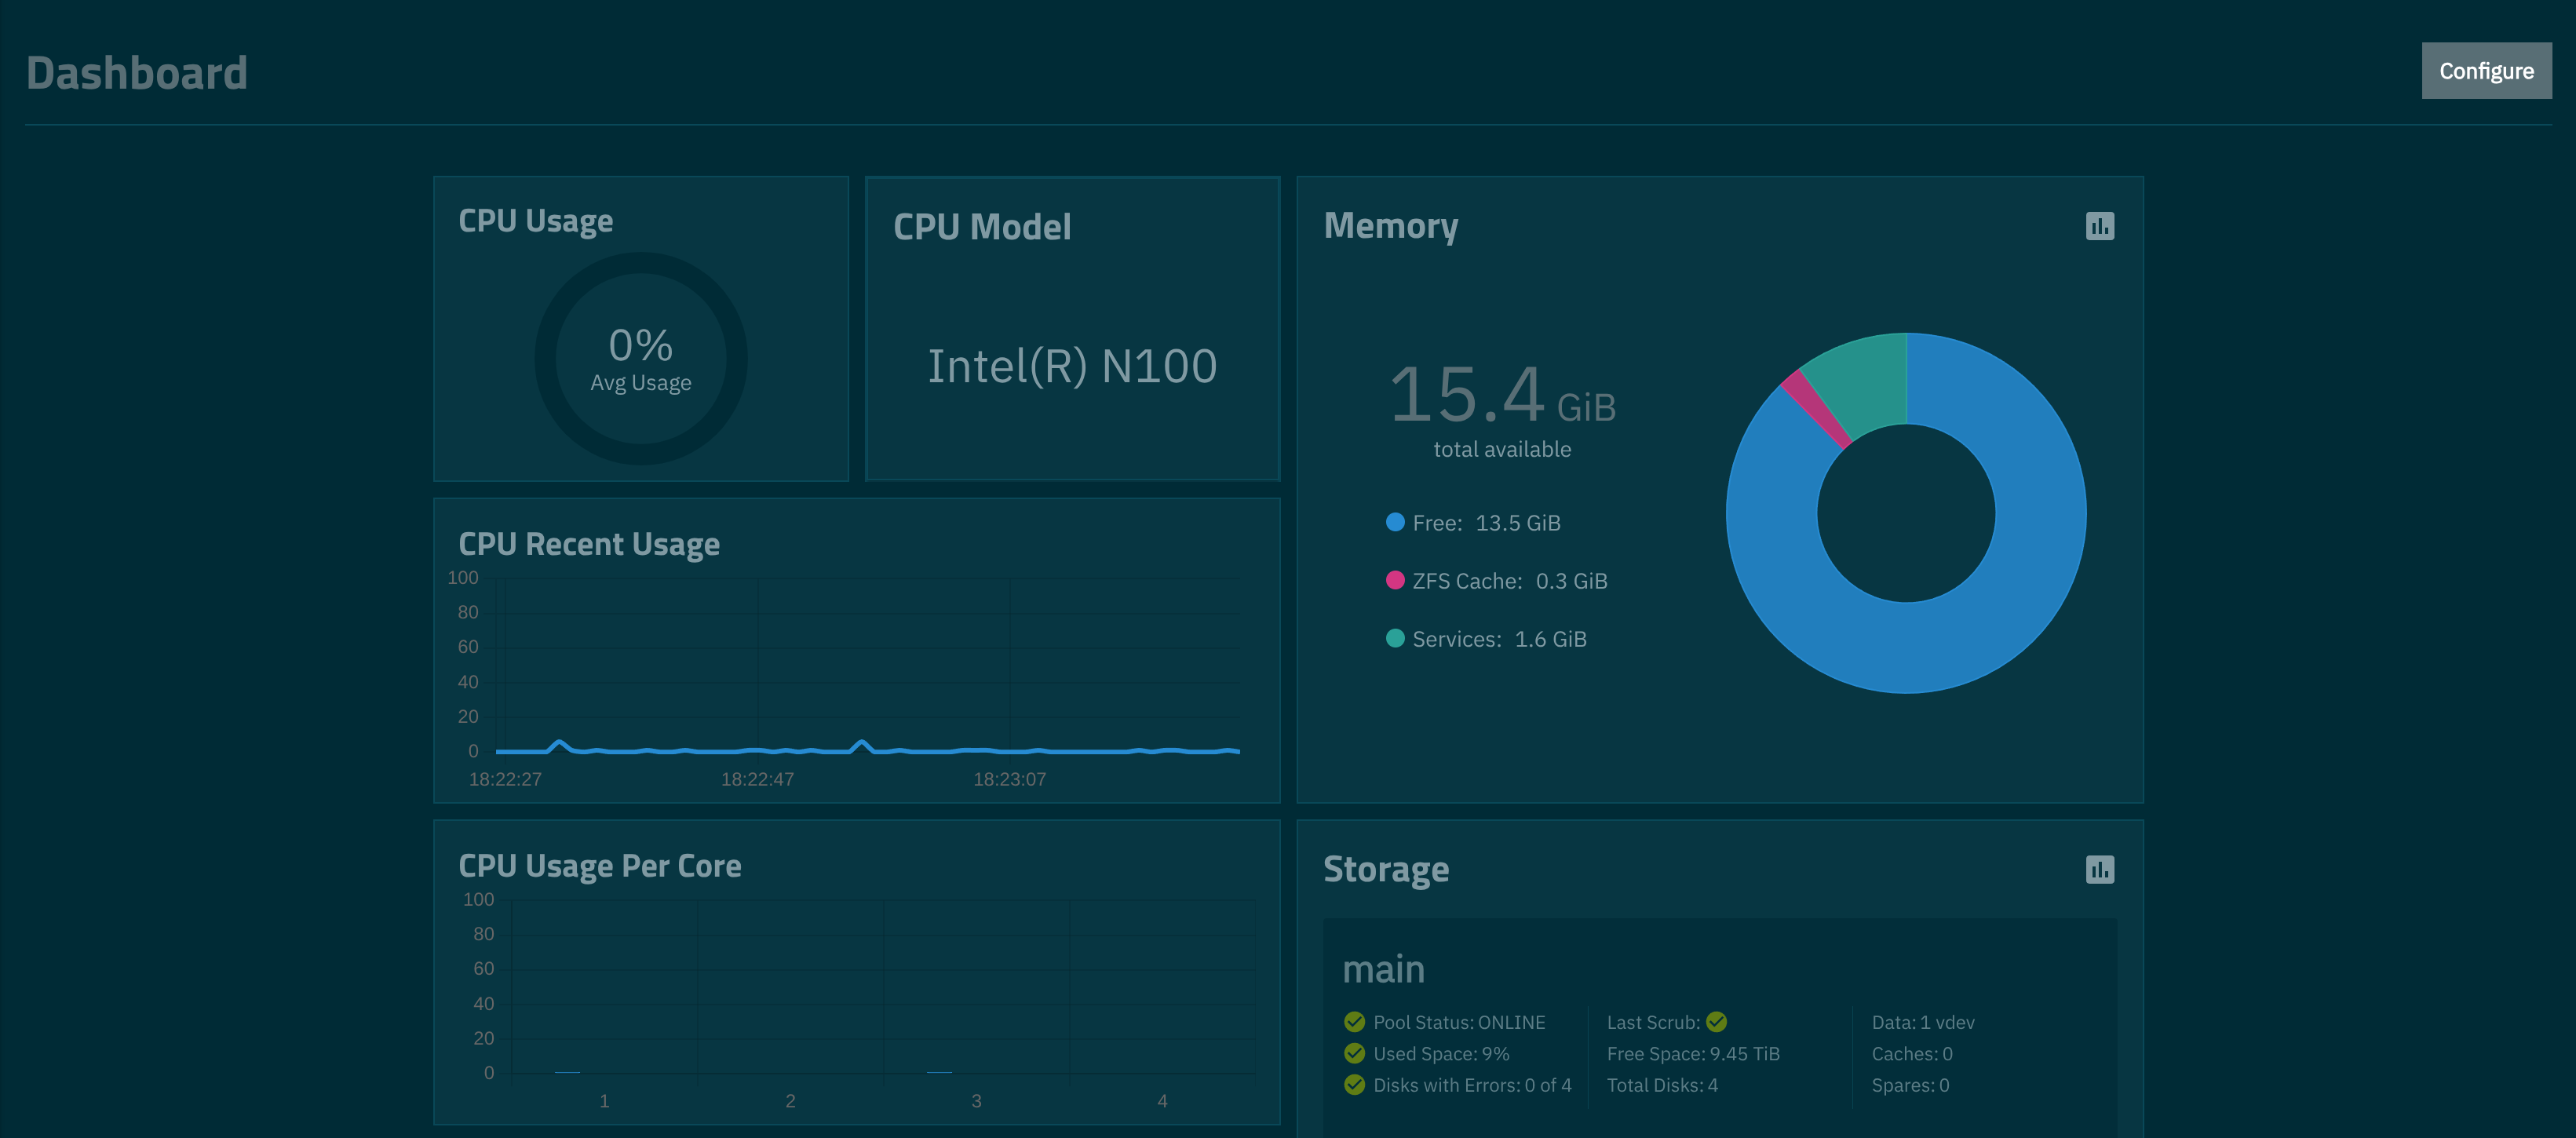
After install the first order of business is creating a ZFS pool. I went with RAIDz1 across four drives, which is similar to RAID5, it survives a single drive failure without data loss. ZFS handles checksumming and silent corruption detection automatically. Additionally, I've created a simple dataset using the TrueNAS GUI, which I’ve turned into an NFS share that’s accessible from my local computer to make data transfer easy.
Apps & Services
TrueNAS Scale supports running apps via its built-in catalog. I keep it simple, just a handful of apps that add utility without overloading the machine. Jellyfin is the primary application I run on the NAS. I also run Nginx Proxy Manager so I can access my media when I'm not home. It's configured to a domain I own through Cloudflare, and it's also configured using Cloudflare HTTPS certificates.
Parts List
OpenWRT — Home Router Build
I'm very excited to have this router in my lab, and I've been using it as kind of an all-in-one networking device. It's a very simple Qotom rack-mountable mini PC. It runs off a normal x86 processor, making it easy to install Linux on it and run all the apps without much trouble.
Hardware
This is a simple rack-mountable mini PC from Qotom. Inside is an Intel Atom x7425E processor. I'm always aiming for a quiet build, and even though this PC is fan-cooled, it is silent. One other great feature of this PC is that it uses SODIMM RAM which helped a lot. I had some extra left over, helping save some money.

Currently it's using 8GB of DDR5 SODIMM, and a cheap SSD. This kind of device doesn't need as much power as most other builds, and I don't plan on running anything too powerful on it. The big sell of this PC is its 6 RJ45 ports on the front. It has 4 × 2.5GbE, and 2 × 10GbE ports, making it perfect for a router build.
Installing OpenWRT
OpenWRT is a Linux-based OS and uses APK to install packages. From what I understand most router-type OS run off BSD-based distros, one of the reasons I chose OpenWRT is because I'm more comfortable with Linux.
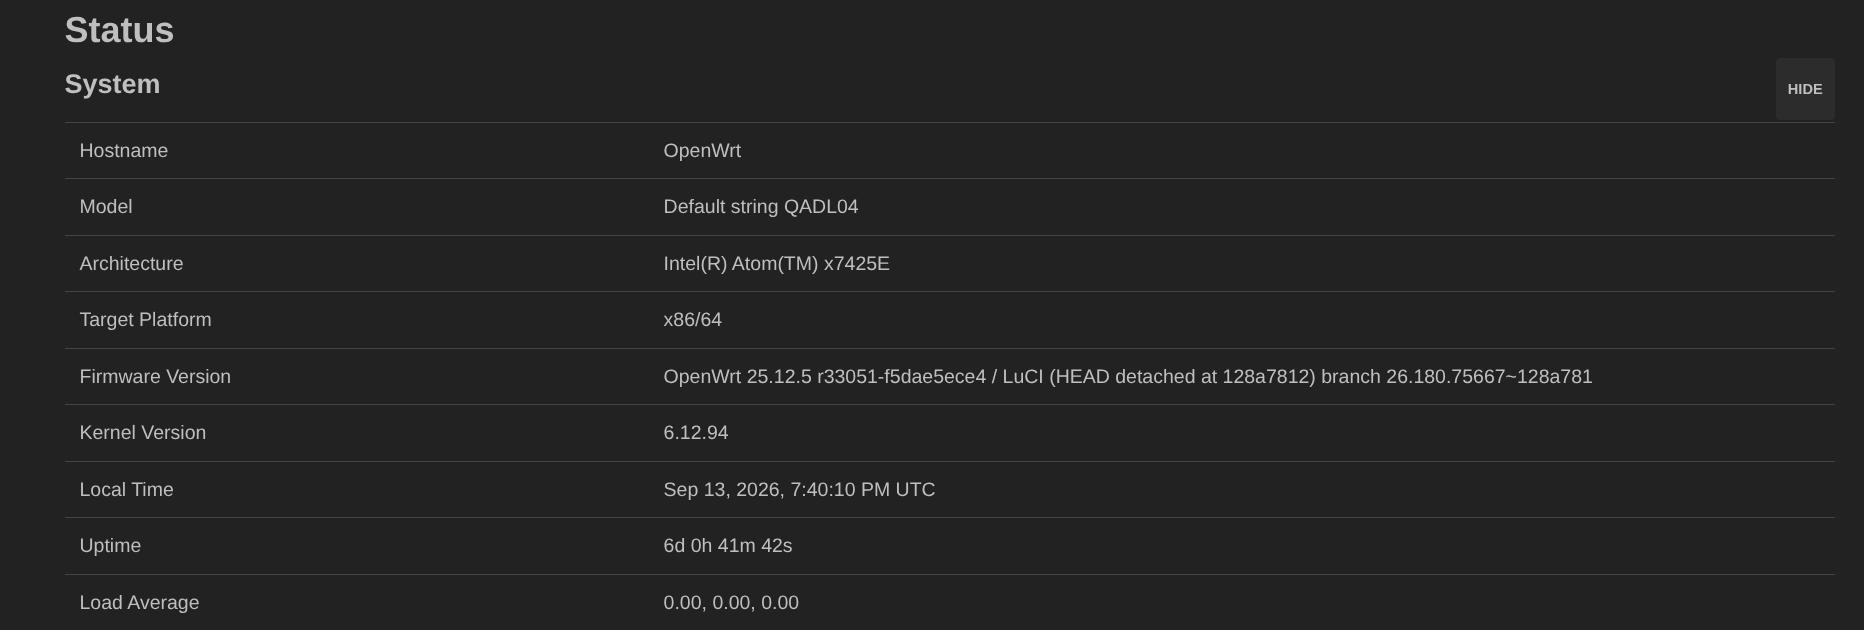
Installing OpenWRT went a little different, as instead of a normal ISO file, I had to install using an IMG file. Nonetheless it was a fast and simple install, OpenWRT is quite small. Most of the default configurations worked with my machine from boot, and OpenWRT provides a very simple GUI for installing other applications.
Apps & Services
As I said previously, OpenWRT provides an easy to use GUI to install most apps, making setup very smooth. Anything extra can be installed with APK via SSH. Currently I'm using this PC as a router, firewall, VPN, and reverse proxy. The router and firewall software come stock with OpenWRT. I installed NetBird for the VPN. Lastly I moved my NGINX reverse proxy from my NAS to this PC, just to keep everything organized.
Parts List
Framework Mainboard Server
I'm planning on running a Windows Server on this build in the future, but for now it's just running a simple Debian server. The main reason I'm documenting this build is to showcase a basic understanding of computer hardware. I feel this build is very simple and easy to follow.
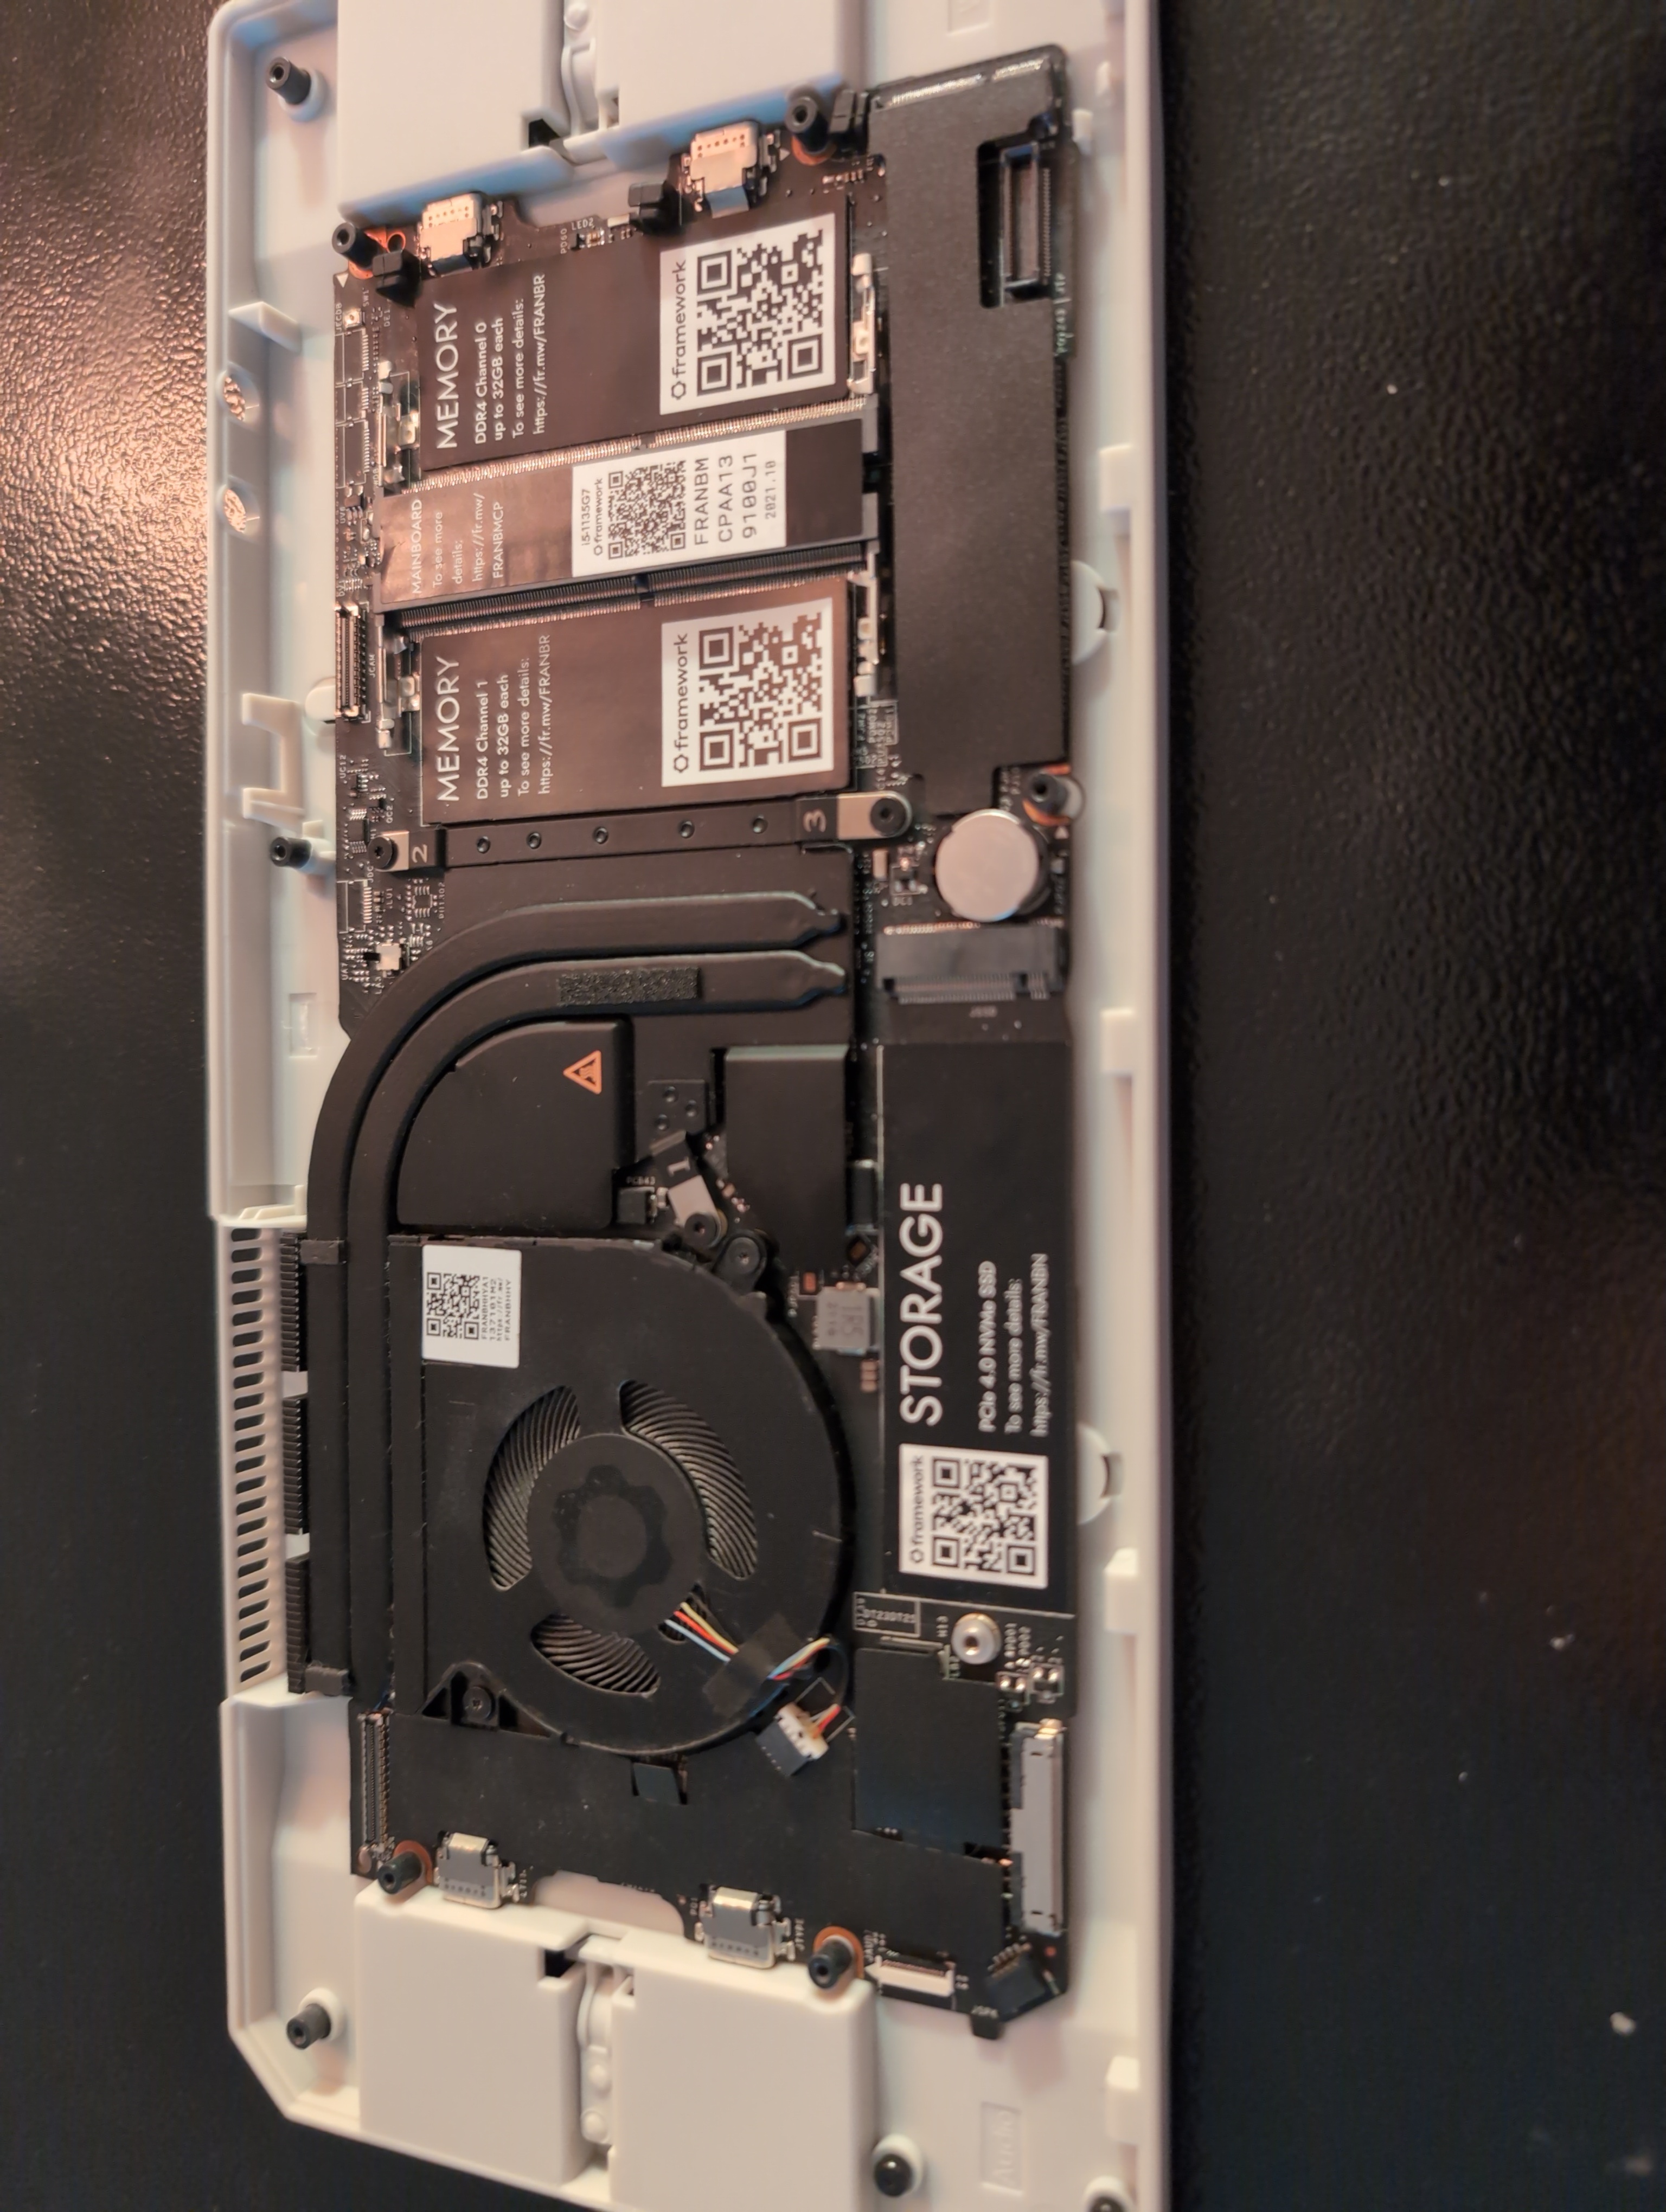
Hardware
For this build I sourced the mainboard second hand, and salvaged the SSD and RAM out of an old laptop. The main board is a laptop board, so it does use SODIMM RAM. The CPU is also soldered under the fan and heat sink. The SSD is a smaller 30mm SSD, so it's sitting under a metal SSD extender. I also installed a Wi-Fi chip, though it's unusable without an antenna, so I'll be using Ethernet.
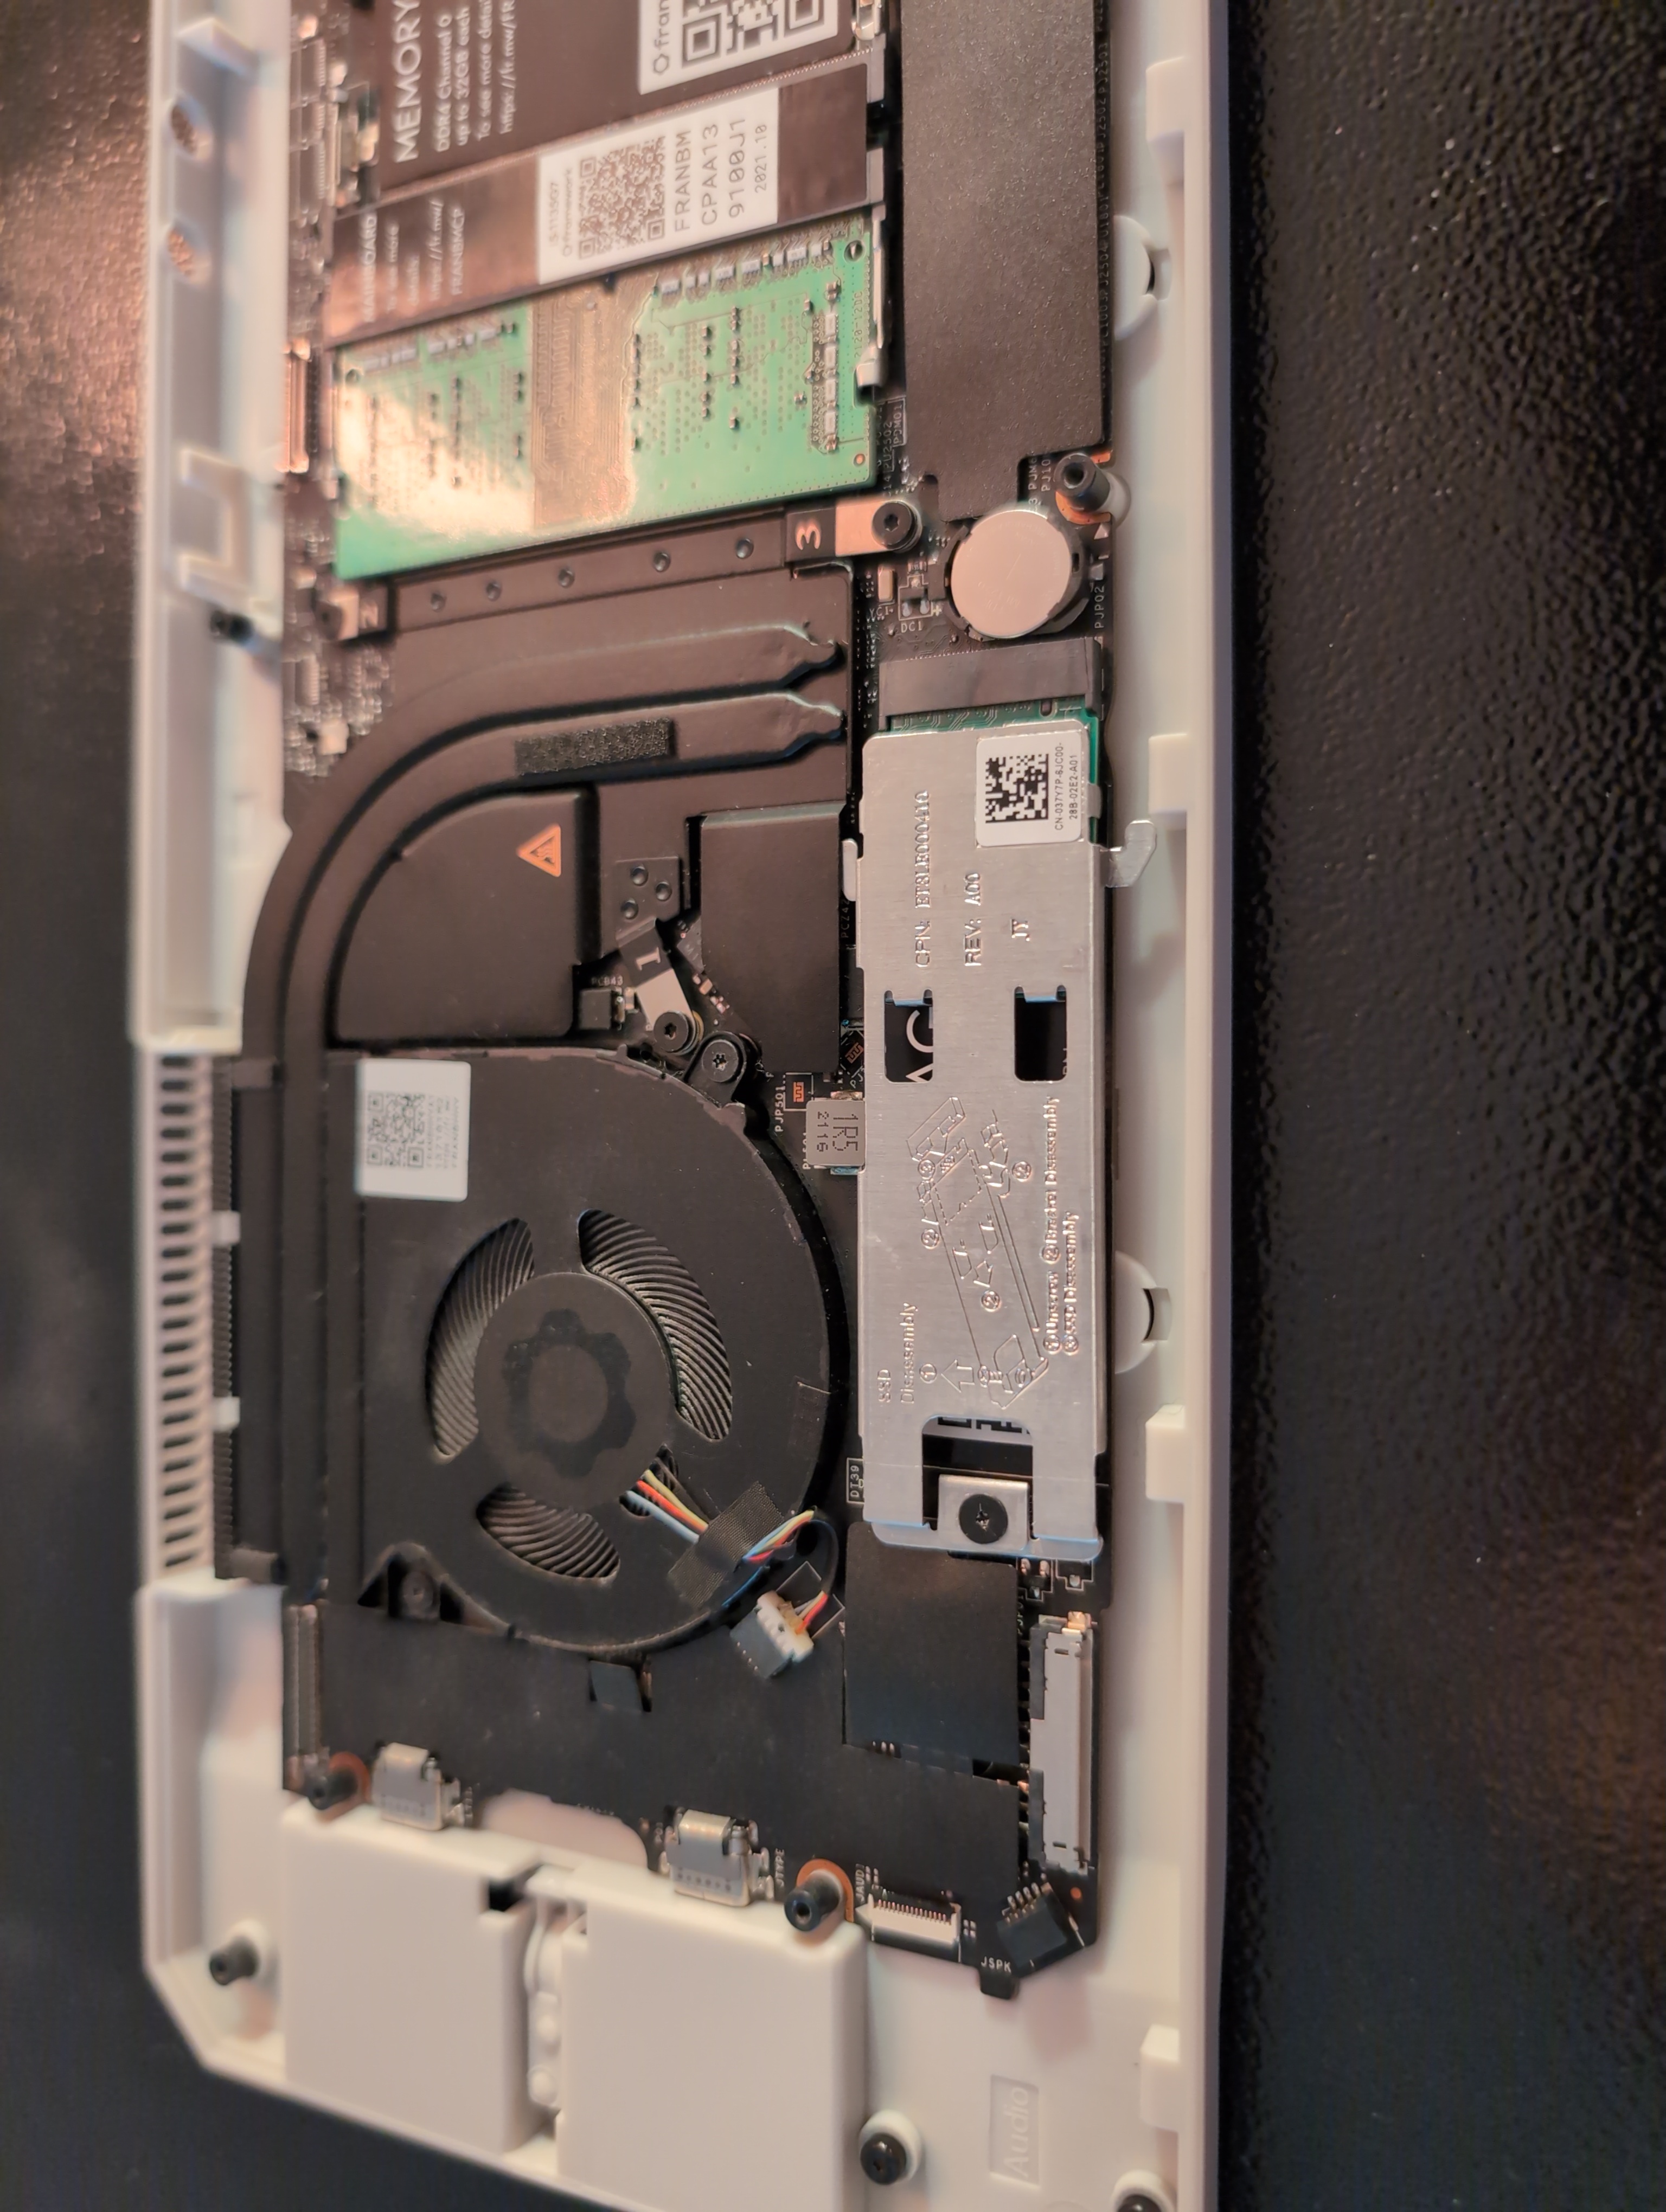
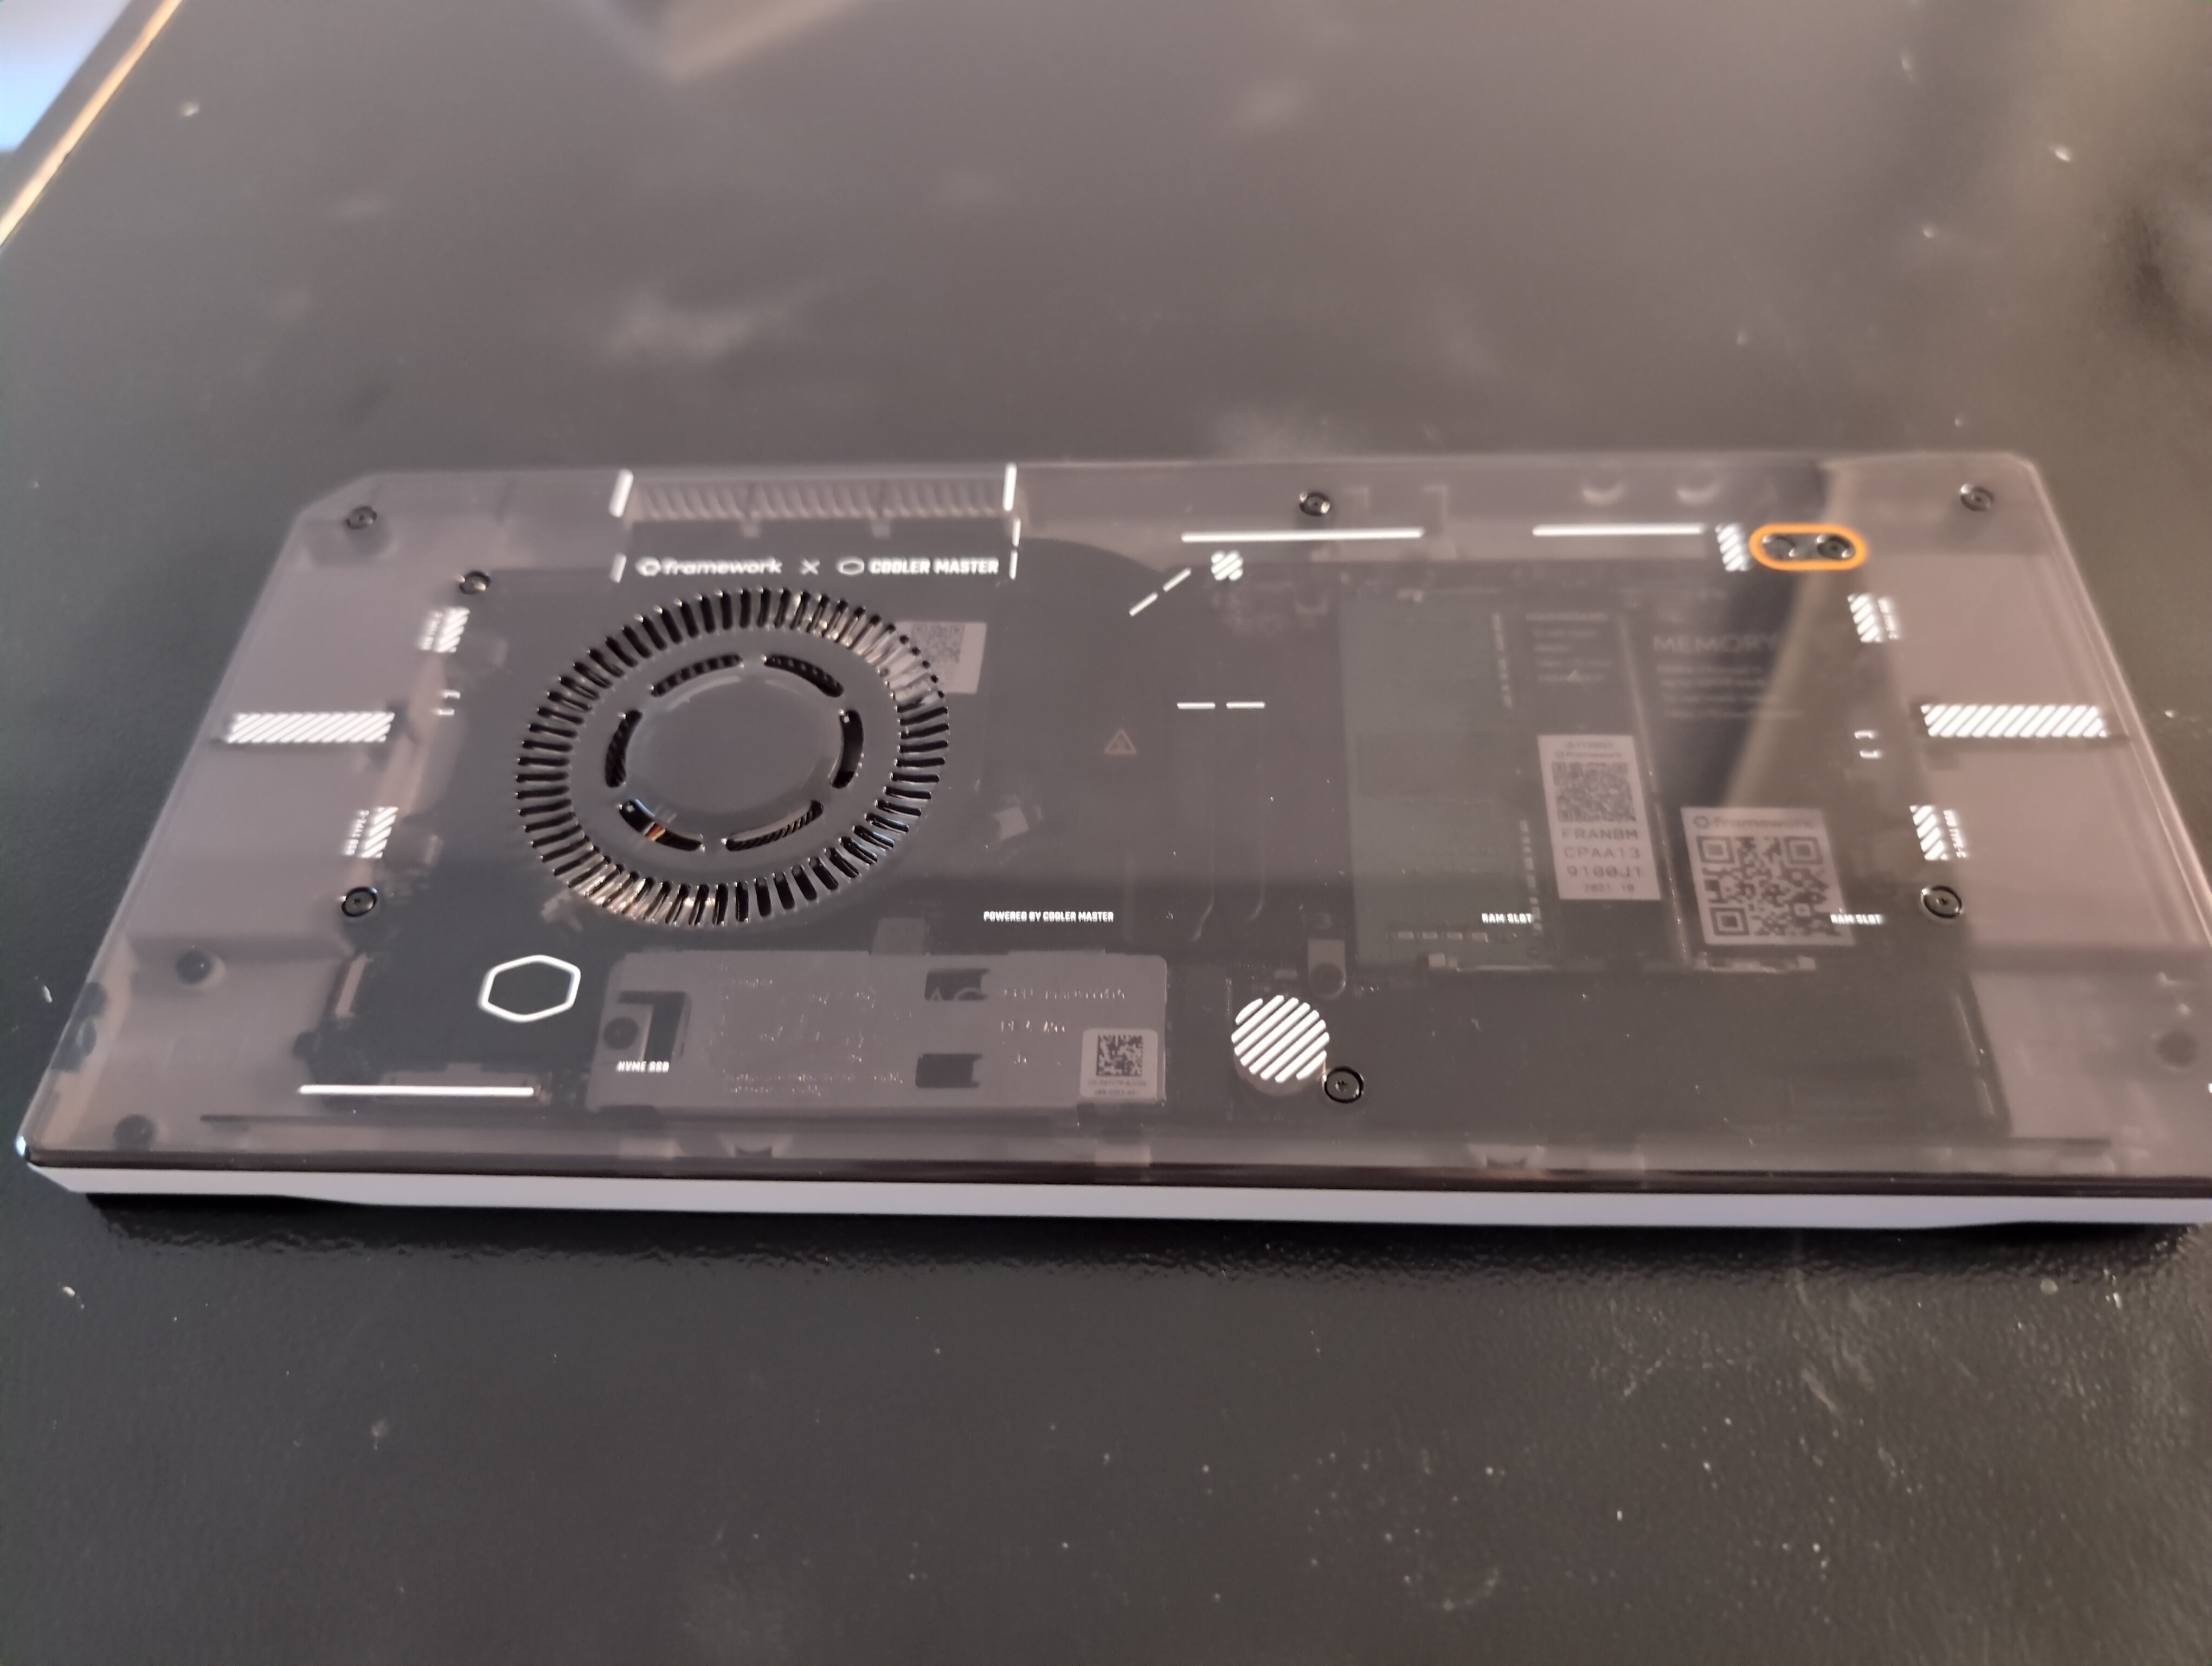
After installing all the parts it's placed inside a Framework Laptop 13 Cooler Master Mainboard Case. This case provides easy access to the module slots on the sides, allowing me to install any ports off the Framework website, such as an Ethernet port.
Parts List
Power Distribution and Backup System
My power supply setup for the entire rack is split into two parts. First is my PDU, a very basic 15A Tripp Lite PDU. Second is my UPS, which is a CyberPower CP1500PFCRM2U Sinewave UPS.
Setup
The CyberPower UPS was a very expensive rack-mounted UPS that I bought with the hope that it'll power my entire rack, and I won't have to upgrade it at any point in the future. It's a surge protector and a battery backup for the rack. I can also replace the batteries in the UPS when needed.
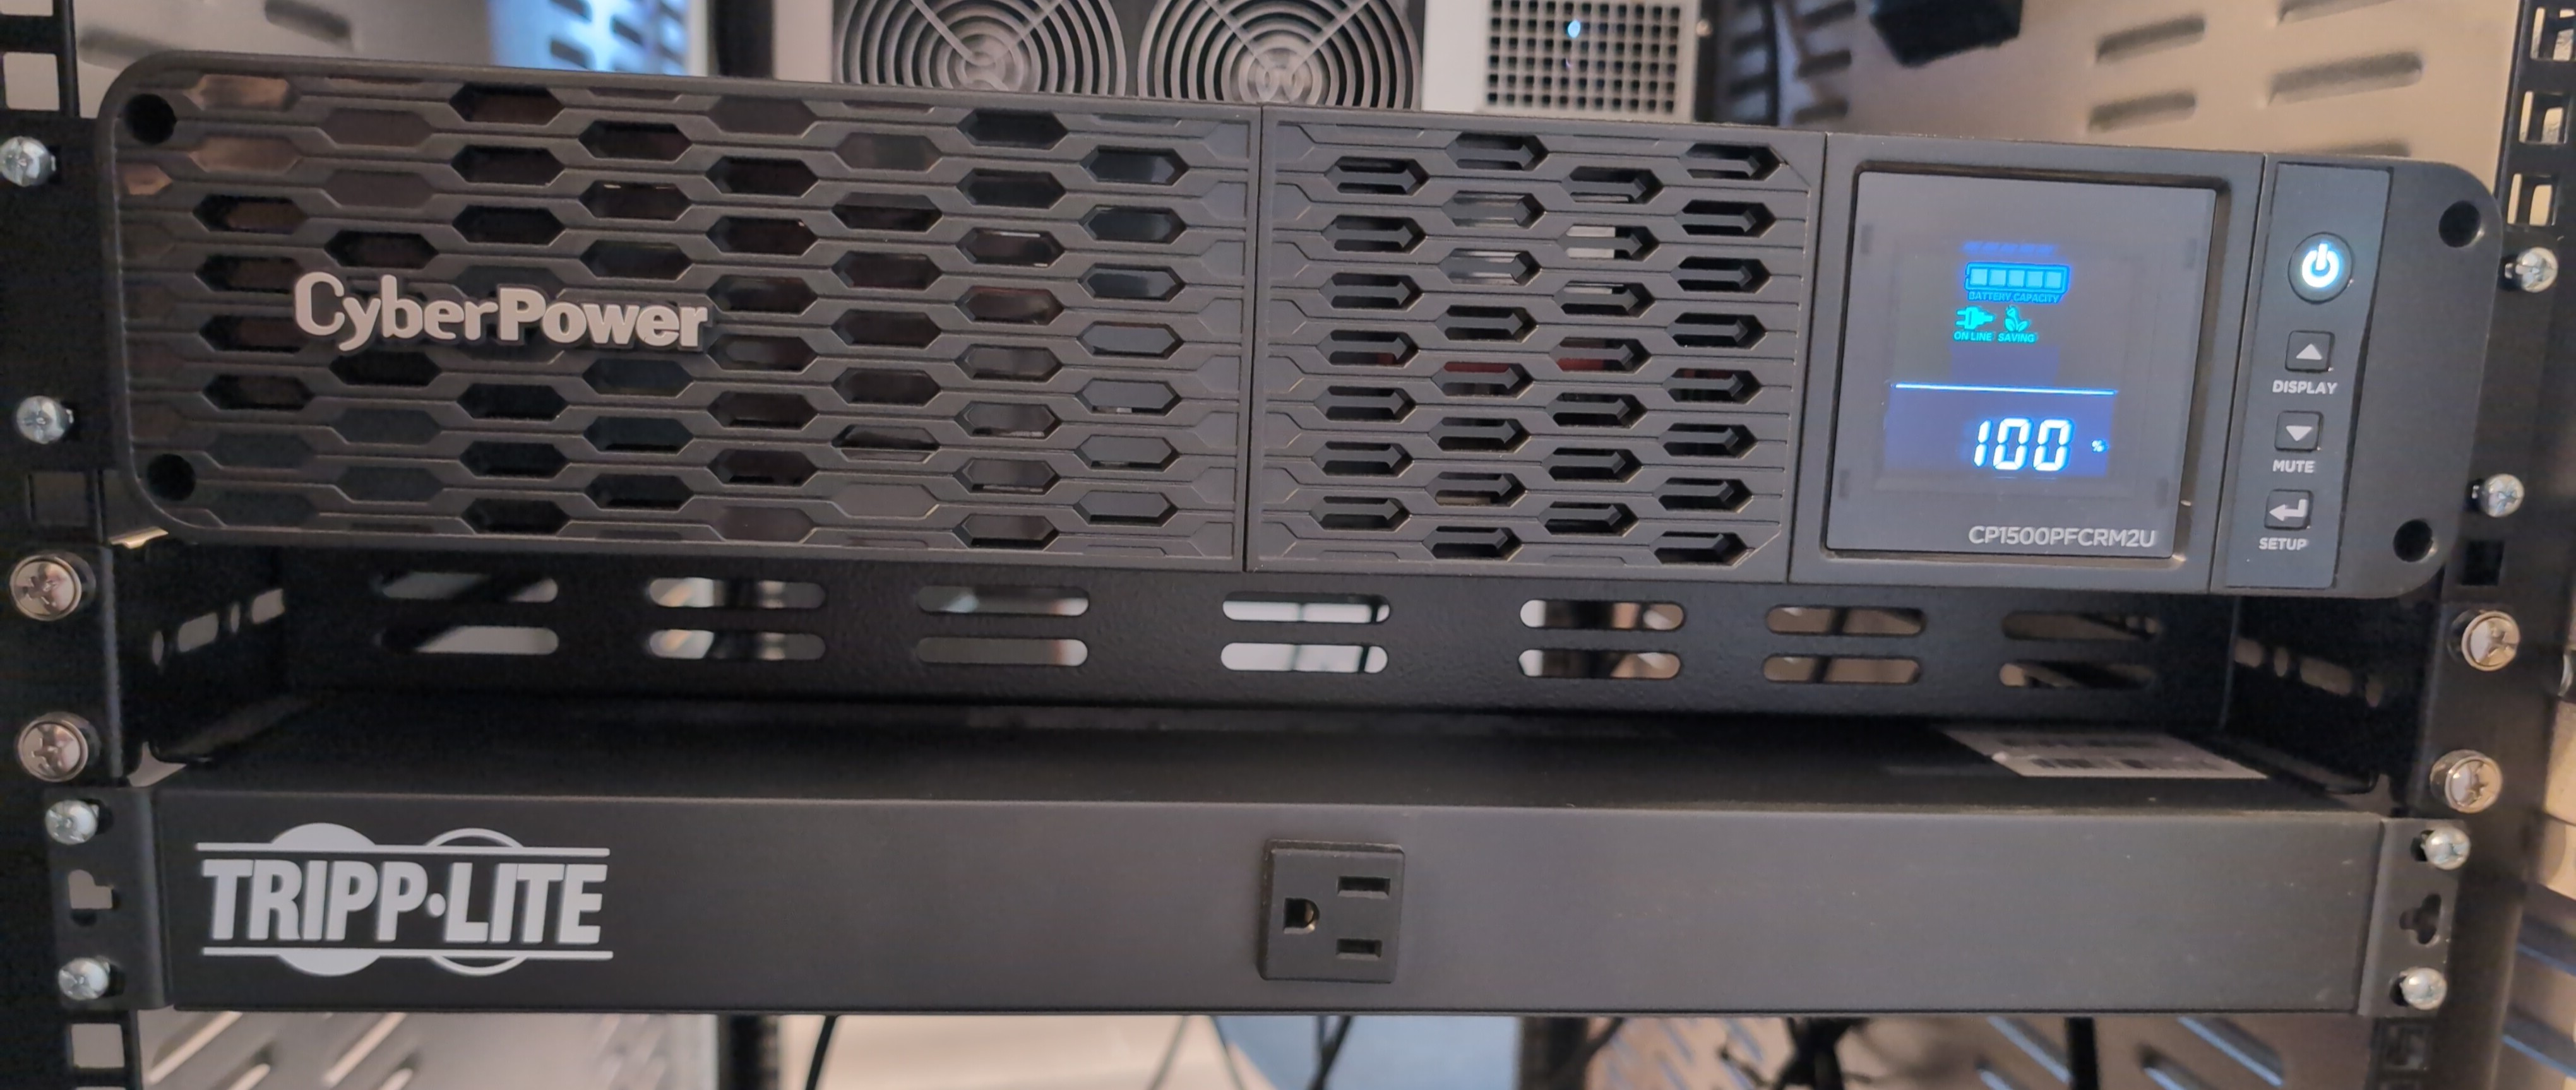
My UPS is currently plugged into the wall, with my PDU plugged into the UPS, as my current PDU does not have a surge protector built into it. In total my rack has 21 outlets, minus one to connect the UPS and PDU together. The UPS is quite heavy, so I have it positioned on the same shelf as the NAS, with the PDU sitting just below.